Tutorials The Basics Random Numbers API Calls Other Tutorials Architecture Overview Basic Request Model Decentralized Data Model Off-Chain Reporting
Introduction to Data Feeds Get the Latest Price (EVM) Get the Latest Price (Solana) Historical Price Data Feed Registry API Reference Contract Addresses ENS Ethereum Data Feeds Binance Smart Chain Data Feeds Polygon (Matic) Data Feeds xDai Data Feeds Huobi Eco Chain Data Feeds Avalanche Data Feeds Fantom Data Feeds Arbitrum Data Feeds Harmony Data Feeds Solana Data Feeds Optimism Data Feeds
Introduction to Chainlink VRF Get a Random Number API Reference Security Considerations Contract Addresses Best Practices
Introduction Making Compatible Contracts Register Upkeep for a Contract Patterns and Best Practices Network Overview FAQs
Install, configure & fund MetaMask
This page will show you how to configure the MetaMask browser extension. If you already have MetaMask configured, skip to Acquire testnet LINK.
What is MetaMask?
MetaMask is a wallet that runs as a self-contained application inside your browser as an extension. It allows you to interact with Decentralized Applications or "dApps". MetaMask makes accessing the Ethereum & Testnet blockchains (Like Kovan) very easy and provides you with wallet addresses.
Install & Configure
Go to: metamask.io and install the browser extension in Chrome or Firefox.
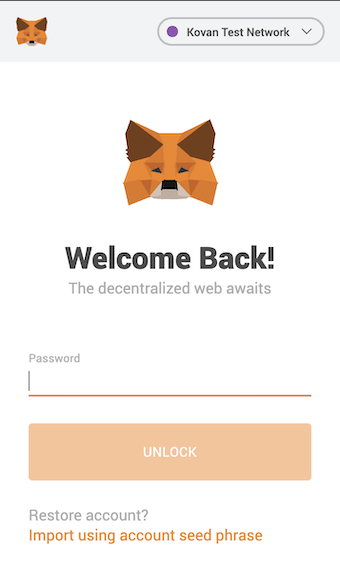
- After installing the MetaMask extension, open the extension by clicking on the MetaMask Fox icon. If prompted to use the New Look, do so.
- Create a new vault.
- You will be presented with a 12-word mnemonic phrase; copy that phrase down in a very secure location that only you can access.
- Change the network selection from
Main Ethereum Networkto theKovan Test Network.
Fund your address with Ether
In order to obtain Kovan ETH, follow the steps below:
- Go to the Kovan Ether Faucet.
- Enter your wallet address into the text box.
- Hit the button to get "Test ETH", wait a minute, and you'll see it in your wallet!